
1. Before You Start
- Ensure you have Training Directory access. If not, request access from the eeger team.
- Prepare your course details, images, and website link.
2. Sign In and Navigate
- Sign into the eeger, click on the menu icon (three horizontal lines next to your name).
- Click on the Employer Dashboard button
- Click on the "Training" tab on the left hand side.
- Click on the “Add Training” button.
There are 8 sections to complete when adding an Training Profile:
Section 1: Training Details
- Training name: This is the name that is displayed on the tiles on the Home page and the heading section of the Training Directory page.
- Order: Type "5" Training profiles will be in alphabetical order on the Training directory page.
- Quick introduction: This is a paragraph (max 30 words) that is displayed on the Training Profile directory page.
- Training location: The location details will be displayed on the profile and generate a map on the Training Profile (this is not a mandatory field).
- Phone number: This will be displayed on the Training Profile (this is not a mandatory field).
- Contact email address: This will be displayed on the Training Profile (this is not a mandatory field).
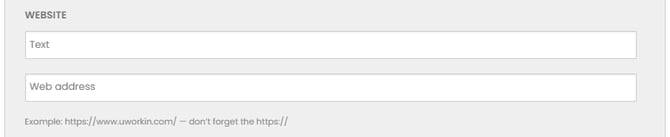
Section 2: Website
- Website text: this will be displayed on the profile as text with a hyperlink to the website address.
- Website address: the website address (ensure you include https://)
Section 3: Categories and Filters
Any State: This field allows learners to filter courses by location. Accurate selection ensures visibility in relevant regional searches. Dropdown Options (select all that apply):
- Australian Capital Territory (ACT)
- New South Wales (NSW)
- Northern Territory (NT)
- Queensland (QLD)
- South Australia (SA)
- Tasmania (TAS)
- Victoria (VIC)
2. Any Sector: Defines the industry focus of the course, helping learners find training relevant to the sector they work in or are interested in. Dropdown options (select one or more):
- Accommodation
- Attractions
- Business Events
- Caravan and Camping
- Clubs
- Cruise
- Culture, Arts and Recreation
- Events
- Hospitality
- Tourism Services
- Transport
- Travel
3. Any Career Category: Specifies the job role or career path the course supports, making it easier for learners to match training to their career goals. Dropdown Options (select one or more):
- Administration
- Amusement & Entertainment
- Animal Care
- Audio Visual
- Barista
- Bartender
- Catering
- Collections Management
- Corporate Travel Management
- Curatorial
- Customer Service
- Destination Management
- Drivers & Pilots
- Education & Interpretation
- Education & Training
- Events
- Facility Management
- Finance
- Fitness
- Fleet Management
- Floral & Decor
- Food & Beverage Waitstaff
- Front Office
- Gaming
- General Manager
- Groundskeeping
- Guest Relations
- Guest Services
- Guides
- Health & Wellness
- Health, Safety, & Compliance
- Housekeeping
- IT Services
- Kitchen
- Lifeguards & Aquatics
- Logistics
- Maintenance
- Management
- Marketing, Comms and PR
- Membership Services
- Officials & Coaches
- Operations
- Recreation
- Rental & Hiring
- Research & Development
- Retail
- Sales and Business Development
- Scenic & Sightseeing
- Security
- Spa
- Supply Chain
- Technical Support
- Travel Agents & Consultants
- Visitor Services
- Warehouse & Distribution
4. Any Course Cost: Indicates the pricing model for the course, helping learners filter by affordability. Dropdown Options:
- Free
- Fees Apply
5. Any Delivery Method: Shows how the course is delivered, allowing learners to choose based on convenience and learning style. Dropdown Options (select one ore more):
- In-person
- Hybrid
- Online
6. Any Audience: Defines the target audience for the course, either for an individual or designed to be conducted for business groups. Dropdown options
- Businesses
- Individuals
Tip: If your course suits both Businesses and Individuals, duplicate the listing and tailor content for each.
Section 4: Training Keywords
Recommended to add in your educational insitute name, and any other key words for the course title or purpose of the course/program.
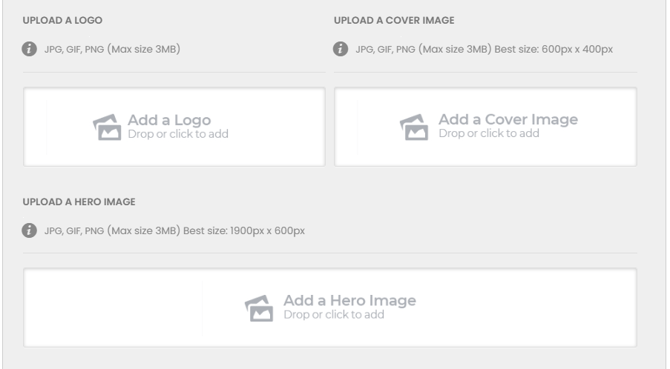
Section 5: Logo and images
High-quality images and logos must meet the size specifications indicated, or the uploaded files will be rejected.
- Logo: The logo is displayed on the directory page and on the Employer Profile page.
- Cover image: The cover image is the image used on the tile on the home page and is also placed above the contact details on the profile page.
- Hero image: This image is the primary background image of the Training Course Profile and is displayed behind the heading of the Training Profile page. The course name and tagline is displayed over the top of this image.
Section 6: Profile content
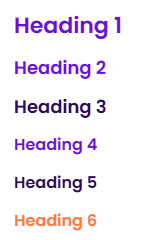
The Editor allows you to add written content to your Training Course Profile. To make the course profile informative and easy to read, we suggest using the following setup:
- Use Headings for Structure: Break up your content with headings for better readability. Headings can be added via the Formats dropdown in the editor.

- Add Images and Links: Include high-quality images (maximum size: 4MB) and relevant links to showcase your brand and provide additional information.
- Preview Before Publishing: Headings selected from the Formats menu will display as shown in the preview mode. Always review your profile before publishing to ensure it looks professional and well-structured.
3. Structure Your Profile
Follow this recommended format for clarity and consistency:
Organisation Description
Introduce your organisation and its role in the industry.
Example:
“ABC Training Institute is a leading provider of hospitality courses, committed to upskilling professionals across Australia.”
Course Description
Provide the course name and purpose. Explain who it’s for (e.g., beginners, experienced professionals).
Course Content
Outline key topics or modules covered. Keep it concise but informative.
Pricing
State the cost structure (e.g., per participant, per organisation). Mention if discounts or promotional codes apply.
Availability
Do not list specific dates. Instead, use general phrasing such as:
- “This programme runs annually.”
- “Refer to our website for upcoming sessions.”
Website Link
Add a direct link to your organisation’s course page for detailed schedules and enrolment.
4. Save and Review
- Preview your course profile to ensure accuracy.
- Click Save to publish.
Best Practice Tips
- Keep descriptions clear and professional.
- Use keywords relevant to Tourism, Hospitality and Travel.
- Do not list specific dates; link to your website for schedules.
- Use high-quality images and videos.
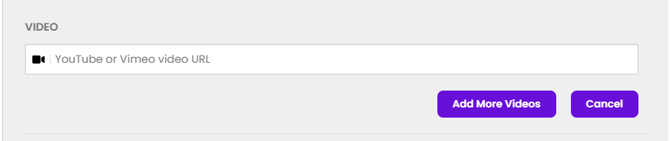
Section 7: Videos
YouTube or Vimeo video URL: One or more Videos links can be added to the Training Course Profile. These links will be displayed in a grid format below the Profile content.
Section 8: Previewing, Saving and Publishing
-
Preview Your Profile: Click Save and Go to Preview. Review the look and feel of your Training Profile. If you’re happy with it, proceed to submit.

-
Edit or Submit:In Preview mode, you can continue editing or submit the profile for review. Once submitted, the profile will be checked and approved by eeger administration before going live.

Important Note
It is not possible to save a draft of your Training Profile within the platform. If you need to keep a draft for internal review, we recommend adding “(DRAFT DO NOT POST)” after your Training Course Name in the Title field. This allows you to share the profile with your team or make further edits.
When you’re ready for the profile to go live, simply remove “(DRAFT DO NOT POST)” and submit. eeger administration will then review and approve your Training Course Profile Page.